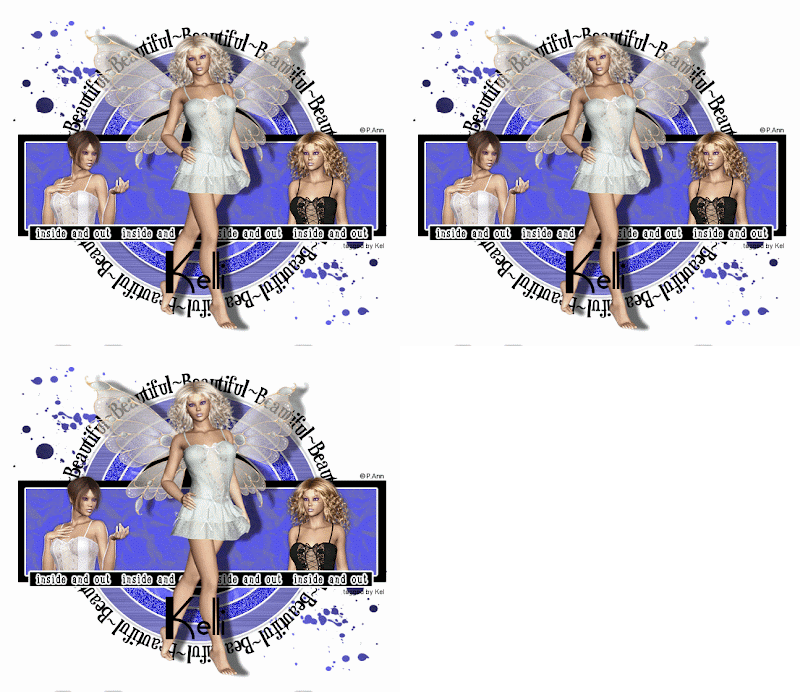
This Tutorial was written by Kelli on july 18,2010.
Please do not copy this tut or post it in any kind of group or claim it as your own. You may link back to the blog.Any similarities to any other tutorial is strictly coincidental.This Tutorial was written using psp 9 but should workin any version.
Please do not copy this tut or post it in any kind of group or claim it as your own. You may link back to the blog.Any similarities to any other tutorial is strictly coincidental.This Tutorial was written using psp 9 but should workin any version.
It is written assuming you have a basic knowledge of psp and its tools.
Thanx!
I would live to thank Patty Ann for allowing me to use her tubes and for allowing me to include some in the supplies. If you use her beautiful tubes please follow her tou.And if you like her tubes please go here and check out the forum.
Thank you so much!
Supplies needed:
AlienSkin Eye Candy 5: Impact~Brushed Metal
Eye Candy 4000 Gradient Glow
my zip file here it includes my template and the tubes I used.You may use any tube you want but please dont use if you dont have a license number.It also includes all my screen shots I was having trouble posting them so i included them in the zip.I hope this doesnt cause anyone any trouble.
you will also need a font of choice I am using fashion victim
you can download it here
Ok Ready?
1.Open your font and minimize it. Open your supplies in psp.Open my template and delete my info layer.
2.Activate 1st circle layer.Duplicate it twice,rename them 1,2, and 3.Activate layer 1 and apply the brushed metal filter with the settings shown on ss1.Repeat this filter on the other 2 layers only hit the random seed button once each time.The color I used is 81802e.
3.Now activate layer 1 again and apply eye candy4000 gradient glowthe settings i used are shown on ss2.Repeat on the next 2 layers.
4.Activate layer 1 again and apply drop shadow with the settings shown on ss3.Repeat on the next 2 layers
5.Activate the 2nd circle layer.Go to selections and then select all then float then defloat.Flood fill it with your color of choice. I used 4040ff.Now duplicate it twice so you have three layers.Rename them 1,2,and 3 again. Activate layer 1 and go to adjust and add noise with the settings shown in ss4. On layer 2 change the setting to 97. and on the third layer change the setting to 94.Select none and add the sme grad glow and shadow as before.
6.Activate the 3rd circle layer.Go to selections,select all then float then defloat. Make your foreground your color of choice I used 5252ff And use whatever texture you would like. I used Crumpled tissue my settings are shown in ss5. Now fill your circle with the foreground color. then go to effects edge effects and enhance it once.Apply the grad glow and shadow as before.
7.Activate the center circle layer, the only thing i did on this layer was the grad glow and the drop shadow.
8.Activate the small rectangle. select all, float,defloat. Add a new layer and fill it with the color and texture you used before.Select none. Now go back to the small rectangle layer and add your grad glow and drop shadow as before.Merge these two layers.
9.Delete the top small rectangle layer and the top word layer.Merge the bottom small rectangle and word layers.Move them down just a bit.Refer to my finished tag if needed.
10. Activate the the large rectangle and flood fill it with a color of choice I used black.
11.Now activate the splotches make your foreground black and your background a color of choice I used 7070ff.Now make your background color a gradient see my screen shot ss6.Add a new raster layer just above the splotches and flood fill it with your gradient. Now go back to your splotches layer and select all float defloat again and now invert the selection and go back to your new layer and hit delete on your keyboard.
now go back to the splotches layer and delete it.
12.Add a new layer, flood fill it white and move it to the bottom.
13.Activate your top layer and paste your tube as a new layer,Resize it by 85% once.Add the same drop shadow only this time put the shadow pn a separate layer,ss7.
14.Now grab your deform tooland makeing sure the shadow layer is still activated,move the shadow over and down just a little bit.Now merge the tube and shadow layers.
15.Activate the small rectangle and paste tour other two tubes as new layers. Resize them both by 85% twice.Position them as desired. Wen your happy with them merge them and apply the same shadow as before but put the shadow on the same layer.Grab your selection tool and make a selection see ss8. Make sure your new tube layer is active and hit delete on your keyboard.
16.Now its time to add © and your watermark.
17. Add your name in your choice of fonts, i ued fashion victim.
18.Now its time to animate.Arrang your duplicated layers in order:112233.make the small circle layers are on top. now merge 1 and 1 together, 2 and 2 together and 3 and 3 together.Now your layer pallette should look like my ss9.
19.Turn off(click the eyebeside the layer)your name, and layers 2 and 3.make sure all other layers are active.copy merged and go to animation shop and paste as a new animation.
20. Go back to psp and close layer 1 and open layer 2 copy merged and go to animation shop and paste it after current frame.
21.Go back into psp and close layer 2 and open layer 3.copy merged and take it to animation shop and paste it after current frame.
22.View animation ans if your happy with it save it.Saving it without a name will allow you to add as many names to it later as you want.
23.to add names to it.Shift + D to duplicate it and close your original.
24.Now go back to psp and activate your name layer.Copy it and paste it in animation shop as a new animation.Copy it and then click propagate paste.
25.Go back to your tag and go to edit and select all frames now paste into selected frames.
26.view animation and save it.
Thanks for trying my tut! I hope your happy with your results!Id love to see them.Email me at purplehearts@live.com with your results!
Hugs from Kel
















No comments:
Post a Comment