
This tutorial was written by Kelli on 06/24/09.
Do not copy this tutorial and post through any kind of group or claim it as your own. Resemblance to any other tutorial is strictly coincidental.
This tutorial was written using psp 9, but should work using any version.
It is written assuming you have a basic knowledge of PSP and its tools.
Supplies:
~ font of choice
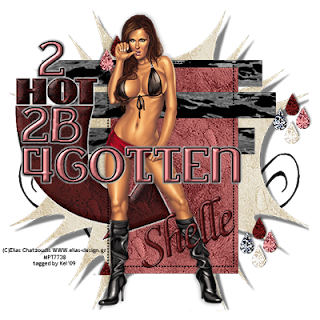
~Tube of choice,I am using the art of Elias Chatzoudis You can purchase this tube at MPT
~Scrap kit of choice or the one I used:
A time of emotions by Shellez Creations and can be purchased here: http://sweetnsassydigiscrappers.com/store/index.php?main_page=index&cPath=1_167&sort=2a&page=1
Check out her blog here: http://shellezcreations.blogspot.com/
~And template #53 by Simone. I cant provide you with the template but I can link you to her site. you can download it Here:
http://www.sophisticatsimonepsptutorials.com/Templates/SimoneTemplates9.html
Ok......Ready?
1.Open The template and shift D to duplicate it.Close the original.Delete the top layer, the one with the copywright info.
2.Add a new raster layer, and fill it with black, or a color to match your kit.Make raster 8 your active layer(the Dotted rectangle)select all, selections float selections defloat, selections invert.Now make your new black layer active and hit delete on your keyboard. Merge down
3.Merge raster 7 down wih layer 5 (the Hot and the arrow layers). Open one of the papers,paste it on top of the merged layer, make the merged layer the active layer, select all, float, defloat, invert, make paper layer active and hit delete. Merge down.
4.Make copy of raster 2 layer the active layer and merge down with rasteer layer 2.Paste the same paper as a new layer, repeat the above steps, merge down.Continue to do this untill all the template layers are filled.Merging down as you go so you dont end up with double layer.
5.Paste your tube and resize if needed. I resized mine x 115 % make sure all layers is unchecked.
6.Click on the bottom white layer an select all, go selections and inver.Now make your paper layers active and hit delete on your keyboard.Continue doing this until you have done all the layers, this will get rid of the parts of the paoer that you cant see.
7.Add your Copywright and your watermark.
8.Add the default drop shadow to layers 6 and copy of raster 6.
9.Grab your text tool, and your chosen font, type 2 2 b 4gotten.position it around the word hot that is already there. once happy with the positioning. Add an inner bevel, and a light drop shadow then repeat the shadow, changing the h and v to minus what you used before.then add a light grad glow
10.Add the same bevel to the arrow layer and the same grad glow.
11. Add the jewel elements resized to pretty small, Sharpen them, add a drop shadow.Merge them together, position them as desired,I duplicated them and then flipped them and coninued doing this until I had 4 sets.Position them as desired.
12.Add one of the doodle under the last of the template layers, duplicate it once, mirror and flip it, position it as desired.
13.Resize X75%, All layers Checked.Crop away any excess canvas from around your tag. But be sure you dont crop any of the shadow.
Hide the bottom white layer and save as a png.
Thanks for trying my tutorial!
Hugs,Kel


No comments:
Post a Comment