
 This tutorial was written by Kelli on 06/10/09.
 Do not copy this tutorial and post through any kind of group or claim it as your own. Resemblance to any other tutorial is strictly coincidental.
This tutorial was written using psp 9, but should work using any version.
It is written assuming you have a basic knowledge of PSP and its tools.
Supplies:
~ font of choice
~Tube of choice,I am using the art of Jennifer Janesko
You can purchase this tube at CILM
~Scrap kit of choice or the one I used:
Lacy Days by Ice Princess Scrapz and can be purchased here:
Check out her blog here: http://iceprincessfl.blogspot.com/
Ok......Ready?
1. open a new canvas 700x700~transparent. Flood fill it white.
2.open a frame and paper of your choice, paste them as new layers onto your canvas.
3.Make your frame layer the active layer, Grab your magic wand and click inside the frame layer.Expand your selection X 6 pixels. now invert the selection, make your paper layer active now and hit delete n your keyboard,Do not deselect yet.
4.Paste your tube or image as a new layer, below your frame layer,Position it as desired, When happy with it, hit delete again, getting rid of the excess tube.Now you can deselect.Add a drop shadow of choice to the frame layerGo back to the paper layer, Duplicate it and activate the original paper layer, go to adjust, add blur with these settings: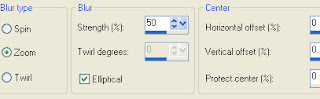
5.Now resize that layer X 105% twice.Duplicate that layer and rotate ithe duplicate layer X 90 degrees to the right
6.On the original paper layer, add your favorie texture effect and change the blend mode to multiply.Merge the paper layers.
7.Add the elements of choice, resizing them as desired, I resized X 60%, then sharpened them and added a drop shadow to each of them.
8.Add your Copywright and watermark now, so you dont forget.
9.Grab your text tool and the font you have chosen, and type a saying of your choice, then add this drop shadow: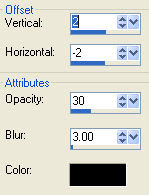
10.Now add your name along with any effects you would likeI added this innner bevel:
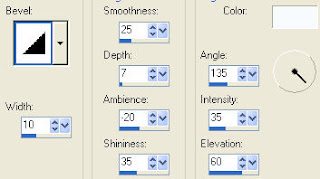 then I added the drop shadow above.
Thanks for trying my tutorial!
Hugs,Kel


No comments:
Post a Comment