

This tutorial was written by Kelli on 01/01/09.
Do not copy this tutorial or post it through any kind of group or claim it as your own.
Resemblance to any other tutorial is strictly coincidental.
This tutorial was written using psp 9, but should work using any version.
It is written assuming you have a basic knowledge of PSP and its tools.
Supplies:
~Font of choice
~Mask of choice or this one that I used: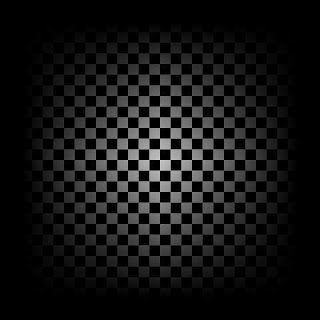
~Tube of choice,
I am using art bySC RichterYou can purchase his tubes at MPT
~Scrap kit by Scrappy Stuff by Essyit is called:Teal we meet again and can be purchased here:
Ok......Ready?
1. Open a new image500X500 White.
2.Paste a paper of choice as a new layer on top of the white background layer
3.Load your mask or the one I have provided.Merge group.
4.Open one of the ribbons, and copy and paste it as a new layer,Position it at the top of your image,duplicate it and go image, flip.now duplicate it again and go to image rotate, to the left x 90.make sure that all layers is not checked.position the rotated ribbon on the left side,duplicate it and go to image, mirror.position all 4 ribbons as desired.
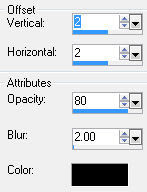
5.Merge the ribbon layers, and add a drop shadow of choice or my settings:
6.Now add your tube of choice, and drop shadow of choice,
7.Grab your text tool and add a saying of choice along with any text effects you would like.
Now its time to add your name,I chose a scripty font for this, and here are the effects I used:
First an inner bevel: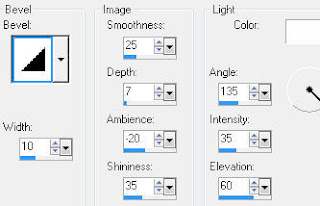 Next I added noise:
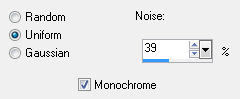 Then I used Eye candy 3 and added a glass effect:
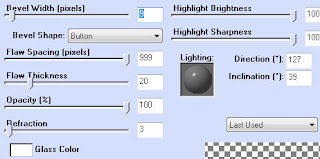 and last I added this drop shadow the same drop shadow from before.
Next I added noise:Then I used Eye candy 3 and added a glass effect:and last I added this drop shadow the same drop shadow from before.8.Dont forget to add your © and watermark.
9. Save as a jpeg and you are done.
Thanks for trying my tutorial!
Hugs,Kel


No comments:
Post a Comment