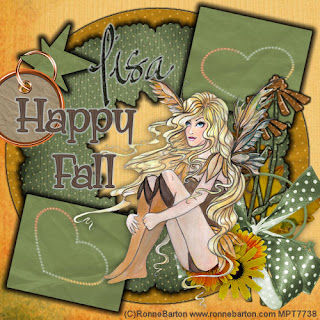
This tutorial was written by Kelli on 10/31/09.
Do not copy this tutorial or post through any kind of group or claim it as your own.
Resemblance to any other tutorial is strictly coincidental.
This tutorial was written using psp 9, but should work using any version.
It is written assuming you have a basic knowledge of PSP and its tools.
Supplies Needed:
~ The Scrap kit By Country Girl Creations
called "Fall Frenzy"Do not copy this tutorial or post through any kind of group or claim it as your own.
Resemblance to any other tutorial is strictly coincidental.
This tutorial was written using psp 9, but should work using any version.
It is written assuming you have a basic knowledge of PSP and its tools.
Supplies Needed:
~ The Scrap kit By Country Girl Creations
it Can be purchased HERE
~Tube of choice...I used A tube by Ronne Barton.You must purchase a license to use his work.You can get one at MPT
~2 Fonts of choice
~Cadi's tag template HERE
Ok......Ready?
1. Open Cadi's template.Delete the copwright layer.
2.MakeThe Background layer active Select all , Fill with a paper of choice.I resized the paper I wanted to use to 500 pixels, and pasted into selection)
3.Repeat this for the rest of the layers.
4.Add a Grad glow, black to all the layers of the template.
5.Open the tag 01,
Resize it by 85% and paste it onto your working image.
Position it on your star.Now grab your eraser tool, and erase some of he tag you just pasted, so that it looks like its hanging on the star.
5.Open the elements you are going to use on your tag.
Resize them by 85%. Paste them onto your tag and position as desired.Add a drop shadow to each of them.
6.Paste your tube of choice as a new layer, add a drop shadow to it, add your copywright.
7. Choose your text tool, and one of the fonts you are going to use.
Type your text, I did "Happy Fall",Convert to Raster layer and add a light colored grad glow.
9.Now choose your other font and type your name.Add an inner bevel of choice, now add the default settings for eye candy glass.Add the same grad glow you used for the prevous text.
10.When happy with everything, save it as a jpeg.
Thanks for trying my tut!
Hugs from Kel
















No comments:
Post a Comment