

This tutorial was written by Kelli on 02/10/09.
Do not copy this tutorial and post through any kind of group or claim it as your own. Resemblance to any other tutorial is strictly coincidental.
This tutorial was written using psp 12, but should work using any version. It is written assuming you have a basic knowledge of PSP and its tools.
Supplies:
~ font of choice
~Tube of choice,I am using Keith Garvey You can purchase these tubes at MPT
~Mask of choice, or the one I used: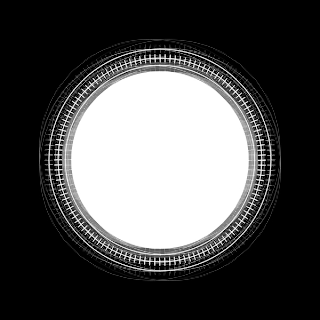
~Scrap kit of choice or the one I used:Lets Beeeee Friends by
Scraps by Roo and can be purchased here:http://sweetnsassydigiscrappers.com/store/index.php?main_page=product_info&cPath=1_122&products_id=1437
Check out her blog here:http://hornyroo.blogspot.com/
Ok......Ready?
1. Open a new image500x500 Color of choice(I used white, so I could see what I was doing.lol).
paste a paper of choice as a new layer.
2.Load mask , merge group.now go to effects and texture effects and apply antique moasic twice.
3.Paste frame of choice as a new layer, Grab your magic wand and click inside the frame, go to selectionsand modify~expand by 4 pixels.
4.Paste your tube of choice as a new layer and go to selections and invert.Now making sure your tube layer is active,hit delete on your keyboard. Select none.
5.Add a drop shadow to your tube and then position as desired.Add any elements you desire now and apply the same drop shadow that you used before.
6.Paste several more tubes from the same artist adding a drop shadow to each individually, resize them as needed.
7.Add your © and watermark.
8.Add your name and any other text you would like.
9.grab your preset shapes tool set to elipse, background null, draw a circle the same size of your frame layer,now grab your text tool and type a quote of your choice.Now on your layer pallette, click the little plus sign beside your vector layer,and hide the elipse layer.Convert the vector layer to raster.Add the effects of choice.
10.Hide the background layer and save it as a png and your done!
Thanks for trying my tutorial!
Hugs,Kel


No comments:
Post a Comment