 This tutorial was written by Kelli on 07/28/09.
Do not copy this tutorial or post through any kind of group or claim it as your own. Resemblance to any other tutorial is strictly coincidental.
This tutorial was written using psp 9, but should work using any version.
It is written assuming you have a basic knowledge of PSP and its tools.
Supplies Needed:
~ The Scrap kit By Wench Designs Called :
Xmas In July
it Can be purchased here:
http://sweetnsassydigiscrappers.com/store/index.php?main_page=product_info&cPath=1_106&products_id=3279
you can check out her bog here:
http://wenchdesigns.blogspot.com/
~Font of choice
~a tube of choice, I am using a christmas fairy by Marjolene Gulinski.
You need a license to use her tubes you can get one at mpt.
~And Babes Template #21 which you can download here:
http://babesdesignz.blogspot.com/
Ok......Ready?
1. Open template by babe.
Delete copywright layer.
grab your crop tool and crop away the excess canvas.
2.make layer 1 the active layer select all, selections float
selections defloat .
open a paper of choice, copy and close the paper,
go back to the tag you are working on and paste into selection.
3.Make layer 2 the active layer and repeat the steps from above.
leave layer 3 alone.
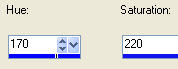
4.make layer 4 the active layer, go to adjust colorize and colorize the
snowflakes to your desired color
my settings were:
Hue:164 and Saturation:161.
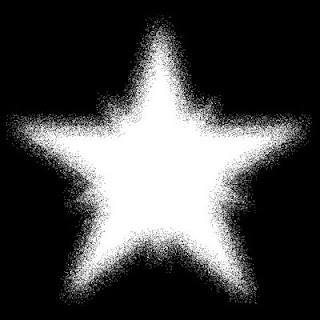
5.Duplicate the snowflakes layer twice, apply
dbs flux bright noise setting at 46.
apply it once to the first layer
twice to the second snowflake layer
and three times to the third snowflake layer.
now sharpen each snowflake layer by going to adjust
sharpen.
6.now make your background layer active,
select all selections float selections deflfloat, selections
modify and contract by 10
selections invert.
add a new layer and move it to the top.
now flood fill with color pattern or grad of choice. Select none.
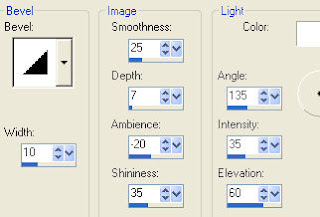
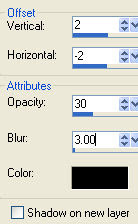
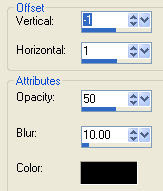
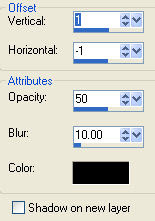
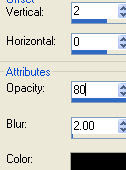
7.Add youe elemens of choice and add a drop shadow to each of them.
add your tube and add the same drop shadow.
8.type your greeting and add your favorite text effects.
dont forget your copwright.
now add your name and your text effects again.
9.Now its time to animate it.
Hide the second and third snowflake layers and copy merged,
Paste in animation shop as a new animation.
Go back to psp, hide the middle snowflake layer and unhide the bottom
snowflake layer, coy merged again and go back to animation shop and paste
after current frame.
Go back to psp and hide the middle snowflake layer and unhide the top snowflake
layer copy merged, go back to animation shop and paste after current frame.
10.Now view animation and save.
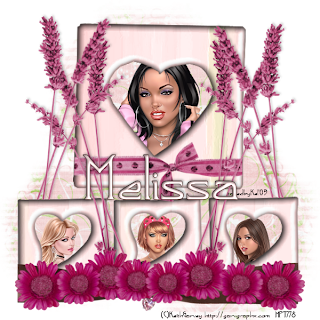
Thanks for trying my tut!
Hugs from Kel


 9.Keep it slected and add noise:
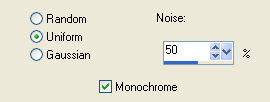


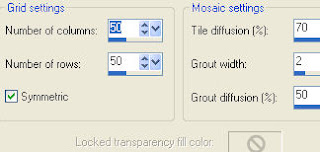
 add noise Amount 39 Monochrome and uniform checked.
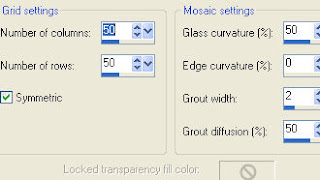
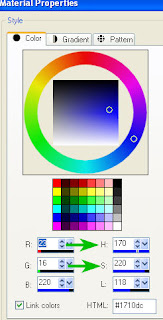 7.Click on the color in the layer pallettenote the H and S numbers, Go to adjust Hue and saturation colorize and insert those numbers.