
This tutorial was written by Kelli on 6/30/09.
Do not copy this tutorial and post through any kind of group or claim it as your own.
Resemblance to any other tutorial is strictly coincidental.
This tutorial was written using psp 9, but should work using any version.
It is written assuming you have a basic knowledge of PSP and its tools.
Do not copy this tutorial and post through any kind of group or claim it as your own.
Resemblance to any other tutorial is strictly coincidental.
This tutorial was written using psp 9, but should work using any version.
It is written assuming you have a basic knowledge of PSP and its tools.
Supplies Needed:
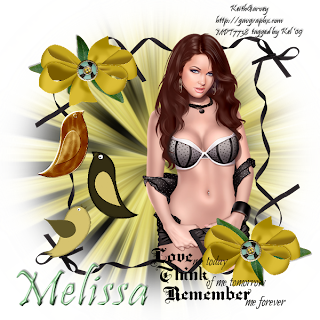
~Tube of choiceI used Keith Garvey You can purchase a license to use his tubes at from MPT
~Font of choice
~VM Toolbox~ Zoom Blur
~word art or a quote of choice
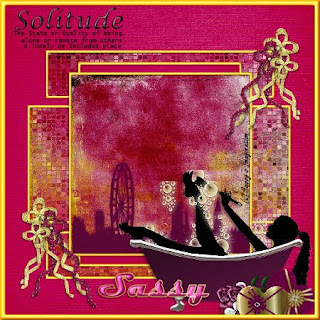
~Scrap kit by Creative Intuitionz
~Tube of choiceI used Keith Garvey You can purchase a license to use his tubes at from MPT
~Font of choice
~VM Toolbox~ Zoom Blur
~word art or a quote of choice
~Scrap kit by Creative Intuitionz
its called Redevance Des' Rois
you can purchase her kit here: http://sweetnsassydigiscrappers.com/store/index.php?main_page=product_info&cPath=1_113&products_id=3042
you can purchase her kit here: http://sweetnsassydigiscrappers.com/store/index.php?main_page=product_info&cPath=1_113&products_id=3042
Ok......Ready?
1. Open a new image 500x500 ~ WHITE.
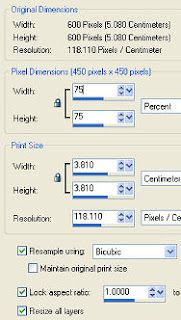
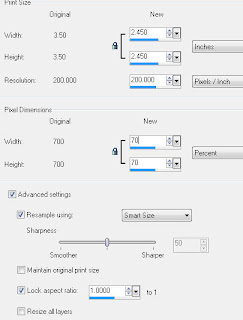
2.open a paper of choice,resize it to 500X500 pixels.
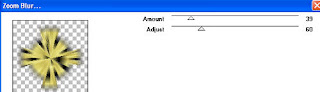
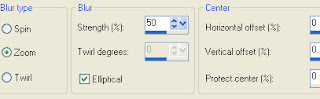
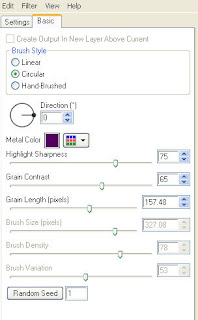
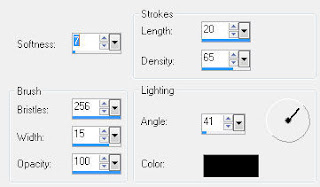
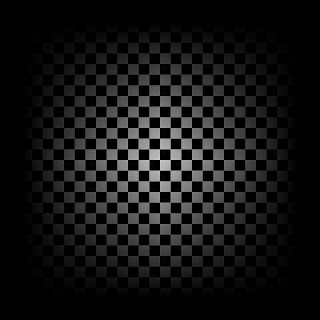
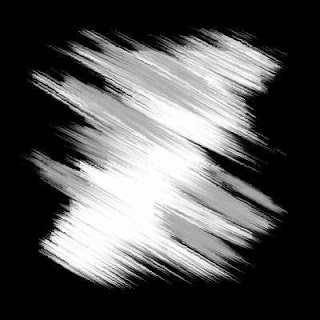
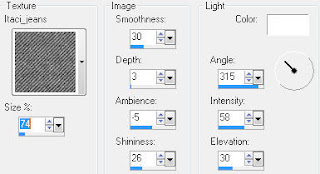
3.Apply vm toolbox~ Zoom Blur. with these settings:
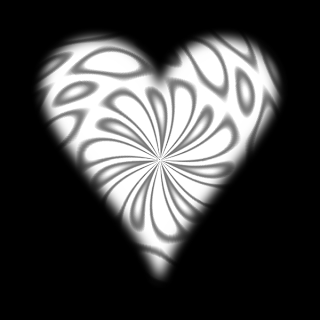
4.Dublicate it,and Rotate the duplicate 45 degrees to the right.Merge down,.
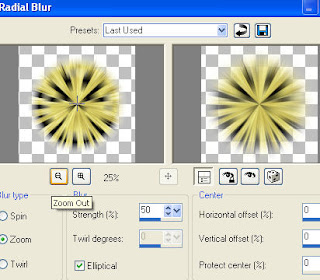
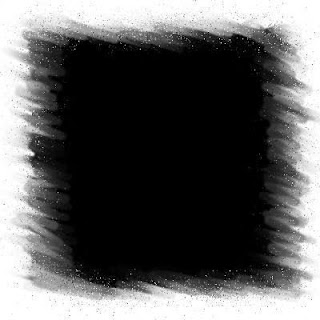
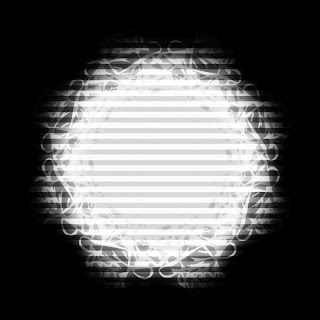
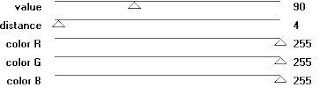
5.go to adjust and add a radial Blur,to soften the layer, with these settings:
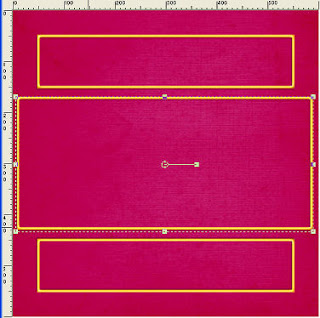
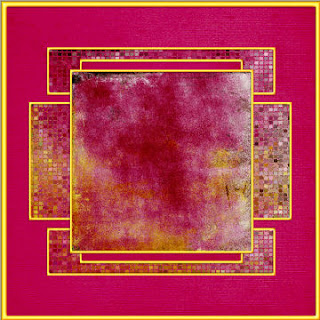
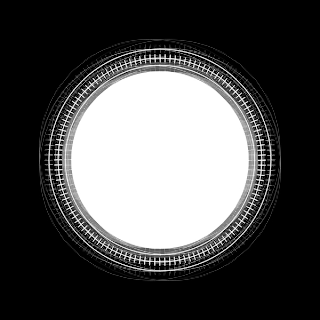
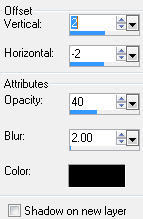
6.Open one of the ribbons and resize it.paste it as a new layer,duplicate it, mirror and flip it to make the frame,merge the two ribbon layers,add a light drop shadow.
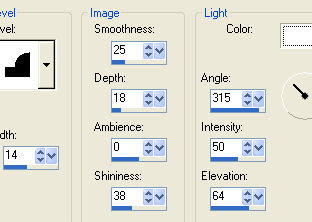
7.Now add some more elements, add a light drop shadow to each of them.
8.Add your text or wor art, add your favorite text effects.
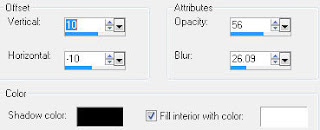
9.Paste your tube as a new layer, below the ribbon frame you made, add a drop shadow.
10.grab your magic wand and click inside the frame,expand the selection x 2invert the selection, make the tube layerthe active layer and hit delete on your keyboard.
11.Grab your text tool.make your fg null and your bg a color to match your tag,select your font,
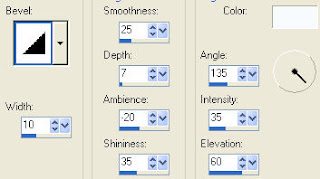
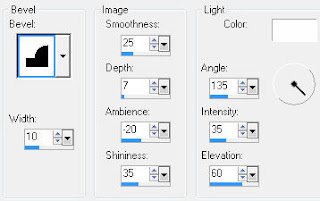
I used pristina size set at 72. Type your name and add your favorite text effects,I added an inner bevel, then a slight grad glow and then a light drop shadow.
12.Hide the bottom layer and save it as a png.
Thanks for trying my tutorial!
Hugs,Kel


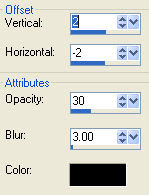
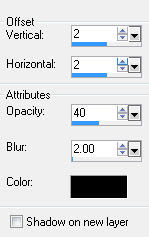
 then I added the drop shadow above.
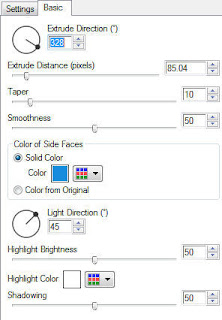
 apply to the first mask layer.
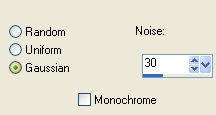

 9.add elements of choice and give them each the above drop shadow or one of your choice.
 Scrap kit of choice or the one I used:


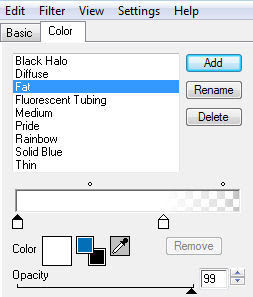 and the basic tab:
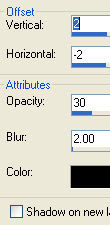
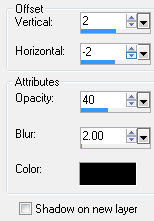
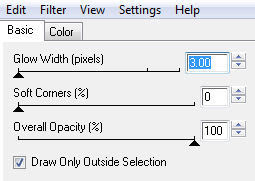 5.Now give the layer this drop shadow:
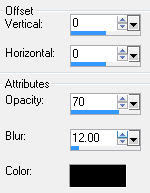
 Repeat this step and then go to edge effects and enhanceSelect none.
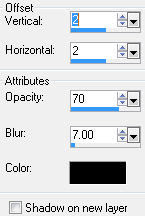


